
HowTo: PINEBOOK Pro with Debian GNU/Linux 10 or Devuan GNU+Linux 3 using mainline kernel and u-boot
Posted on by Daniel Kulesz
Category: meta
I have written this guide to outline how I finally managed to get the official version of Devuan GNU+Linux 3 or Debian GNU/Linux 10 installed on a PINEBOOK Pro. It shows how to achieve this using official mainline u-boot and kernel from upstream (no unofficial patches) and without using third-party repositories. However, it does use self-compiled (unpackaged) versions of u-boot and kernel as tweaking their default build configuration files is currently still required.
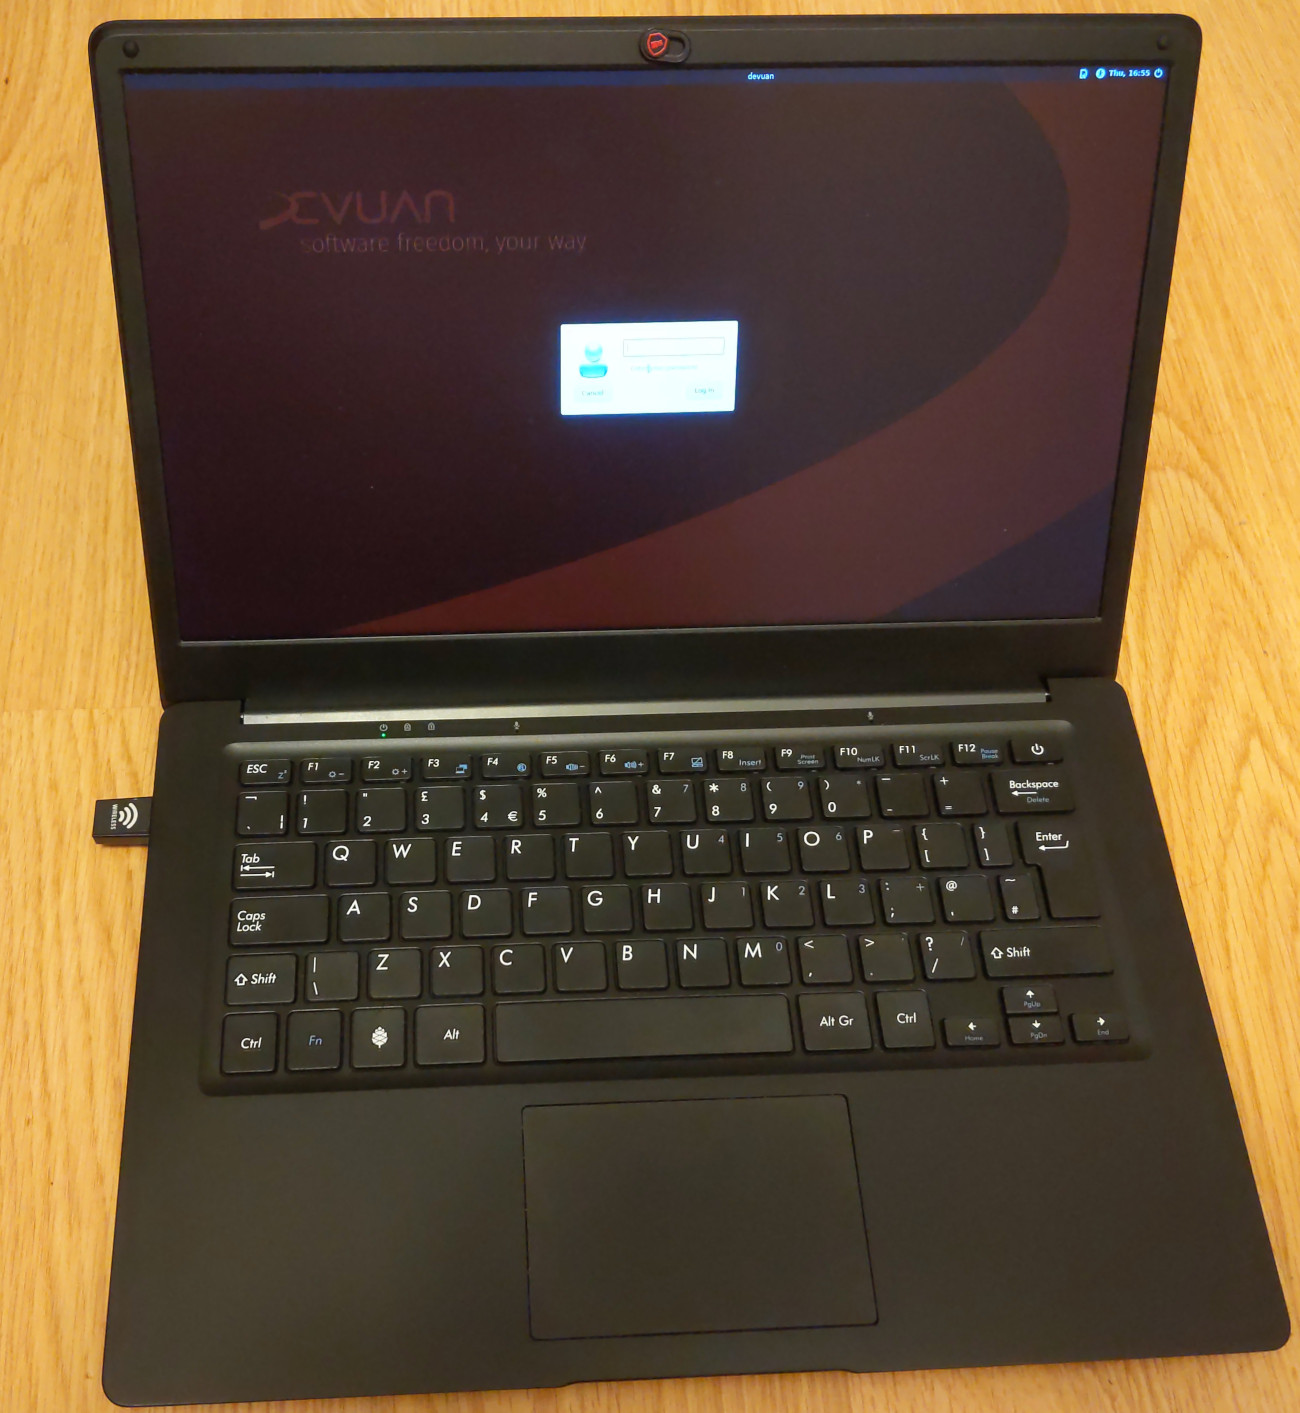
This is how the result looks like on my device:
Status
As of 2021-01-05:
- Most basic functionality is there.
- The display works but requires the official Debian kernel to be recompiled with one configuration parameter changed (covered in this guide).
- Adjusting the display brightness using hotkeys does not work out-of-the-box (at least in LXQt).
- The disk encryption password has to be entered either blindly on-device or using the serial console as the display turns on too late (during init instead of initramfs). If you you decide to enter the password on-device, boot messages will still be displayed on the serial console (but no password prompt).
- The microSD functionality is broken (several kernel errors).
- Using external video-out and wifi requires loading non-free blobs (the ones for wifi can be installed using official Debian packages from the non-free section). I am not sure whether this applies to bluetooth as well.
- Reboots often result in garbled screen output. Therefore, to perform a reboot, it is advised to turn the device off and on again.
- Using further deblobbed sources (e.g. Linux/Libre or cleaned trusted firmware) has not been tried.
Covered topics and goals
This guide builds upon my general guide for building Devuan GNU+Linux 3 or Debian GNU/Linux 10 for various ARM64 boards [1]. It basically adds steps which are specific for the PINEBOOK Pro. The goal is to supplement my general guide instead of copying it.
As the display does not work directly after installation, a working serial console connection to your PINEBOOK Pro is required. Alternatively, you could log in remotely using a USB-ethernet adapter or include the steps in the preparation, but these alternatives are not covered in this guide.
Caution: This guide is WORK-IN-PROGRESS (WIP) and has not been fully tested.
Disclaimer
All data and information provided in this tutorial is for informational purposes only. The author makes no representations as to accuracy, completeness, currentness, suitability, or validity of any information on this tutorial and will not be liable for any errors, omissions, or delays in this information or any losses, injuries, or damages arising from its display or use. All information is provided on an as-is basis.
In no event, the author will be liable for any loss or damage including without limitation, indirect or consequential loss or damage, or any loss or damage whatsoever arising from loss of data or profits arising out of, or in connection with, the use of this tutorial.
Prepare the assets
Follow my general guide for installing Debian/Devuan on arm64 [1] but with the following deviations:
- Step 2: Install the unstable kernel (it is marked as optional in the guide, however, the PINEBOOK Pro requires it).
- Step 3: Do not install the ssh server and dropbear (unless you really want to).
- Step 3: Do not delete your regular user (you don’t want to have just root on a laptop).
- Step 5: This guide has been written using version tags
v2.4for the trusted firmware andv2020.10for u-boot. - Step 5: When building u-boot, use the configuration file
pinebook-pro_defconfig, but comment the line (PREBOOT=y) in it before building (obtained this hint from [2]). The configuration file resides in theconfigssubdirectory of u-boot. - Step 6 and 7: Skip these steps, as they differ substantially (this is what this guide is for).
Initial installation / flashing
As of now, the Linux kernel 5.10 shipped in Debian unstable has severe issues with microSD cards. Therefore, it is required to install a different OS on the PINEBOOK Pro first and flash our Debian/Devuan files from there.
Grabbing artifacts
First of all, copy the following artifacts from step 5 to a USB drive:
- devuan-aarch64-bootfs.tar.gz
- devuan-aarch64-rootfs.tar.gz
- idbloader.img
- u-boot.itb
Preparing Armbian
This guide assumes that the installation on the PINEBOOK Pro is done using Armbian. Therefore, download and flash Armbian as described on their website to a microSD card. Once you have Armbian running, connect to the internet (e. g. using wifi or an USB-Ethernet adapter).
Next, install additional packages:
apt install cryptsetup f2fs-tools sfdisk
Now, insert the USB drive with the files from step 5, mount it (if not done automatically) and change to the directory where it is mounted.
We will refer to this path as /path/to/your/mounted/usb/drive/ in the rest of this guide.
Verifying disks (IMPORTANT)
Before we start flashing, verify using fdisk that mmcblk2 is your internal eMMC flash and mmcblk1 is the microSD card from where your Armbian is running:
fdisk -l
IMPORTANT: Do not execute the following steps if this is not the case!
Flashing
Wipe out the first sectors of the internal eMMC:
dd if=/dev/zero of=/dev/mmcblk2 bs=1M count=100
sync
Create a sfdisk template:
cat <<'EOF'>>sfdisk.template
label: mbr
unit: sectors
first-lba: 64

start=        2048, size=       16384
start=       18432, size=      614400, bootable
start=      632832
EOF
Partition the internal eMMC flash:
/sbin/sfdisk devuan3-rockpro64.img < sfdisk.template
Format the boot partition:
mkfs.ext4 -m0 -L boot /dev/mmcblk2p2
For the root partition, create an encrypted partition (choose a strong passphrase), unlock it, and format it using the f2fs filesystem:
cryptsetup luksFormat /dev/mmcblk2p3 --label=rootencrypted
cryptsetup luksOpen /dev/mmcblk2p3 somename
mkfs.f2fs -l root /dev/mmcblk2p3
Flash the boot partition:
mount /dev/mmcblk2p2 /mnt
cd /mnt
tar xzvpf /path/to/your/mounted/usb/drive/devuan-aarch64-bootfs.tar.gz .
sync
cd
umount /mnt
Flash the root partition:
mount /dev/mapper/somename /mnt
cd /mnt
tar xzvpf /path/to/your/mounted/usb/drive/devuan-aarch64-rootfs.tar.gz .
Change the following line in /mnt/etc/inittab (only required for Devuan, not for Debian):
#T0:23:respawn:/sbin/getty -L ttyAMA0 115200 screen
T0:23:respawn:/sbin/getty -L ttyS2 1500000 screen
In addition, uncomment the following lines in order to activate the regular consoles in /mnt/etc/inittab as well (again, this only applies to Devuan):
1:2345:respawn:/sbin/getty 38400 tty1
2:23:respawn:/sbin/getty 38400 tty2
3:23:respawn:/sbin/getty 38400 tty3
4:23:respawn:/sbin/getty 38400 tty4
5:23:respawn:/sbin/getty 38400 tty5
6:23:respawn:/sbin/getty 38400 tty6
Unmount the stuff:
cd /path/to/your/mounted/usb/drive/
umount /mnt
cryptsetup luksClose /dev/mapper/somename
Flash the bootloader and sync the contents:
dd if=idbloader.img of=/dev/mmcblk2 seek=64 conv=notrunc
dd if=u-boot.itb of=/dev/mmcblk2 seek=16384 conv=notrunc
Powering down
- Shutdown down Armbian.
- Remove the microSD card.
Intermediate test
Connect your serial console to the PINEBOOK Pro and another computer. Start your serial emulator and connect it. If you are using picocom and have only one USB-Serial device connected, the following should do:
picocom -b 1500000 /dev/ttyUSB0
Now, power on your PINEBOOK Pro and watch it boot. You should see u-boot and the kernel booting, then it should stop in initrd asking for the disk encryption password. Enter the password, let the boot finish and log in.
Getting the display to work
There are basically two reasons why the display does not work out-of-the-box:
- Additional kernel modules need to be loaded (see [3]).
- The configuration used by Debian to compile the Linux kernel sets a parameter that needs to be changed (see [4]).
Loading additional kernel modules
Add the required modules to the initramfs configuration:
cat <<'EOF'>>/etc/initramfs-tools/modules
analogix_dp
drm
drm_kms_helper
panel-simple
pwm_bl
rockchipdrm
EOF
And rebuild the initramfs:
update-initramfs -u
Recompiling the kernel
You can recompile the kernel either on the PINEBOOK Pro directly or on another machine running Debian/Devuan. I recommend the latter as it takes quite long on the device itself at heats it up which is not ideal for the battery.
No matter where you build, install the following packages:
apt install build-essential gcc-aarch64-linux-gnu git unzip bison flex libssl-dev bc pigz
Then grab the official Linux kernel source (use the current version and verify the download as described on kernel.org):
wget https://cdn.kernel.org/pub/linux/kernel/v5.x/linux-5.10.4.tar.xz
Unpack the sources:
tar xvf linux-5.10.4.tar.xz
Copy the default Debian kernel config (if you are building externally, copy it to the machine where you are doing it):
cd linux-5.10.4
cp /boot/config-`uname-r` .
Edit the .config file and change the following line so its value is an empty string:
CONFIG_SYSTEM_TRUSTED_KEYS=""
Also change the setting CONFIG_ROCKCHIP_CDN_DP as follows:
# CONFIG_ROCKCHIP_CDN_DP is not set
In addition, I recommend adding some string to your kernel to make it better recognizable:
CONFIG_LOCALVERSION=".my01"
Also, change the following entry in the Makefile to significantly speed up packing when compilation ends:
#XGZIP = gzip
XGZIP = pigz
Start the build (on-device):
make -j6 bindeb-pkg
Or if you are building on a different device (change -j16 to match the number of the CPU threads you want to use, typically the maximum you have):
make -j16 ARCH=arm64 CROSS_COMPILE=aarch64-linux-gnu- bindeb-pkg
After the build finishes, you should get the following Debian packages in the parent of the directory where you unpacked the kernel source (names will differ if you used a different kernel):
- linux-headers-5.10.4.my01_5.10.4.my01-1_arm64.deb
- linux-image-5.10.4.my01_5.10.4.my01-1_arm64.deb
- linux-image-5.10.4.my01-dbg_5.10.4.my01-1_arm64.deb
- linux-libc-dev_5.10.4.my01-1_arm64.deb
If you built the kernel externally, copy these files to your PINEBOOK Pro (otherwise you can use them directly). Install the kernel package (the other debs are only required for debugging and compiling additional modules):
dpkg -i linux-image-5.10.4.my01_5.10.4.my01-1_arm64.deb
Remove the currently installed kernel and the metapackage (otherwise updates could break your display again):
apt autoremove linux-image-`uname-r`
Check the symlinks in /boot/vmlinuz and /boot/initrd.img point to the newly installed kernel:
ls -l /boot
That’s it! Power down the PINEBOOK Pro (do not just reboot as this might cause garbled display output). Power the device back on, wait a bit and enter your drive encryption password using the serial console. After entering the password, your screen should finally turn on.
Remember: You are now running your device with a self-compiled kernel that gets no automatic updates. Make sure you download, build and install new kernel versions regularly so you don’t miss out on security updates!
Enter drive encryption password on-device
I did not succeed to persuade the display to turn on before the password prompt is shown.
However, you can choose to enter the password “blindly” on-device.
You will get boot messages on the serial console but the password will need to be entered on-device.
To do this, add the following parameter in the append line to your /boot/extlinux/extlinux.conf line:
console=ttyS2,1500000 console=tty0
Power down the laptop, power it on, wait aprox 30 seconds and enter the password blindly to continue booting.
Increasing backlight brightness
Changing the brightness via hotkeys does not work ootb on the LXQt desktop. However, the brightness of the display’s backlight can be set to maximum via the following command as root:
echo 4095 > /sys/devices/platforms/edp-backlight/backlight/edp-backlight
The value 4095 is the maximum, you can also set a lower value of course.
Additional blobs for wifi and video-out
I discourage the use of non-free blobs and recommend using the PINEBOOK Pro with a ath9k-based USB wifi dongle instead. However, if there is interest I will update this section and add the necessary steps.
Credits
I would like to thank all the helpful minds in the official PINE64 forums (especially the users “toons”, “as400” and “schwarzwieweiss”) who pointed me to the principal solutions for some of the steps covered in this guide.
External References
(The providers of external resources are solely responsible for them - see legal notice).
- [1] https://www.kulesz.me/post/140-debian-devuan-arm64-install/
- [2] https://forum.pine64.org/showthread.php?tid=9744&pid=86475#pid86475
- [3] https://forum.pine64.org/showthread.php?tid=12534&pid=86682#pid86682
- [4] https://forum.pine64.org/showthread.php?tid=12534&pid=86977#pid86977
History / Changelog
- [2021-01-09] Added missing kernel config parameter (
ROCKCHIP_CDN_DP) - [2021-01-07] Added photo, refined information about non-free blobs
- [2021-01-05] Changed info about not being able to enter password on-device, added section how to achieve this, added section about display brightness
- [2021-01-05] Posted in forums (PINE64 and dev1galaxy) and updated status, fixed mmcblk1 mention in section “Verifying disks”, fixed various small glitches
- [2021-01-05] First publication
Comments
(Comment features are provided by external parties and are not monitored by me.)
Please use the discussion forum thread in [4]. I will consider adding further options once this guide gets more mature.